Bringing AI to Funnel Building World
Interfunnels and ChatGPT’s First AI Sales Funnel Builder
Interfunnels and ChatGPT’s First AI Sales Funnel Builder
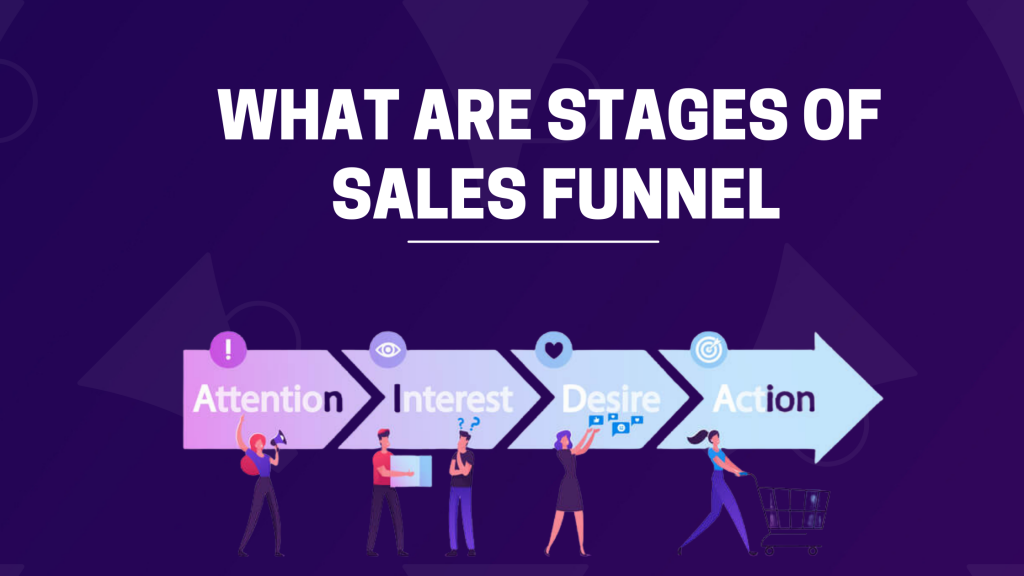
In today’s marketing world, you cannot imagine running a marketing campaign without a Sales Funnel in place. It will be too overwhelming and exhausting to do that. But how do you explain the sales funnel to a beginner? The simplest way to do that is to explain to him the different stages of a funnel. …
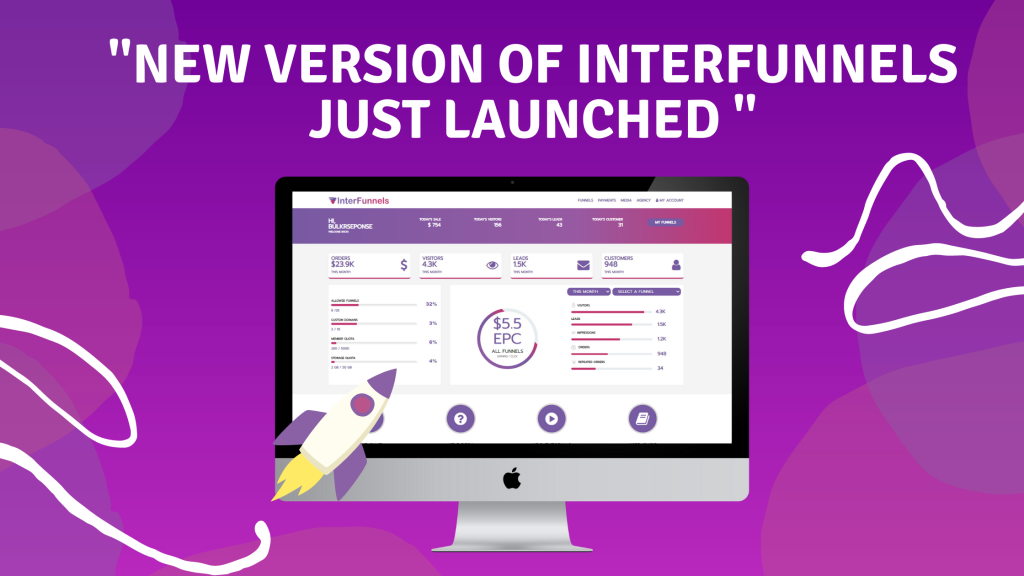
Since its first launch in March 2019, Interfunnels has been continuously working on improving its features and user experience. We have had 2 major overhauls of our Drag & Drop builder and one complete change in our User Interface. But this time the update is much bigger… And it will surely surprise you. We would …
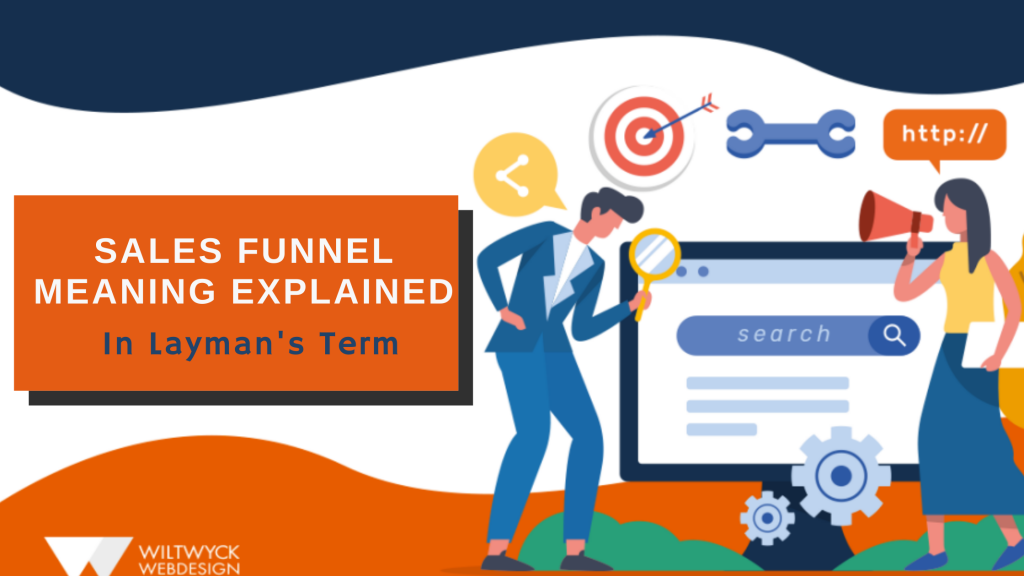
What Does the Term “Sales Funnel” Really Mean? The term “Sales Funnel” has different meanings in different contexts. Here we list some of most common context for the term “Sales Funnel”
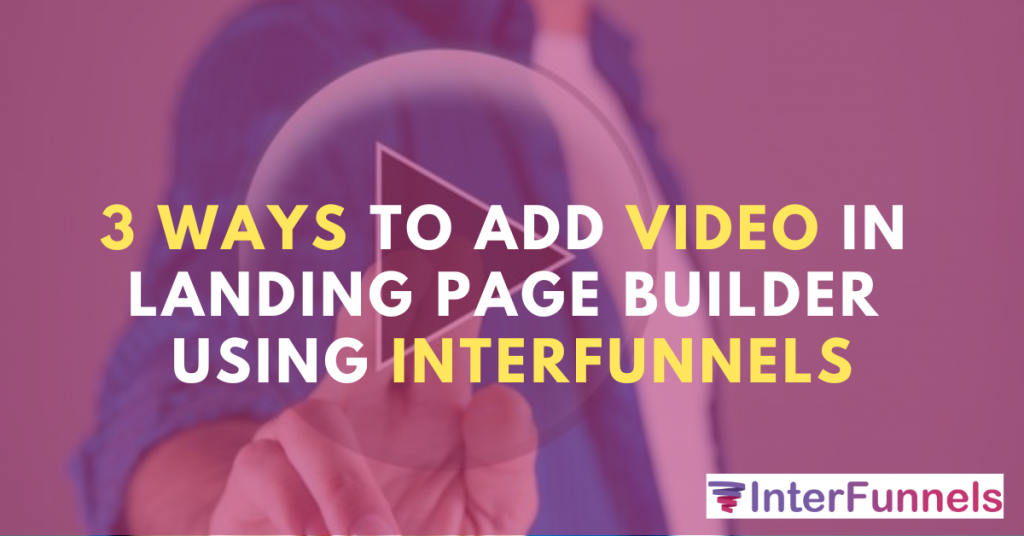
Your videos will help you attract more visitors, leads, and customers with compelling video content. Videos make your content more engaging, create a richer experience for visitors to your site and allow visitors to see what they are getting before they buy. Video is an incredibly powerful tool for engaging your buyers and turning them …
3 Ways To Add Video in Landing Page Builder Using InterFunnels: Read More »
Introduction Adding your custom domain is a critical part of your funnel building process before you go live with your Paid Ads. By default, when you signup to InterFunnels, we give you a temporary domain which is good for testing. But ultimately, you will need to integrate your own custom domain. In this article, we …
Step by Step Tutorial About How to add the Custom Domain with InterFunnels Read More »
What Is Facebook Conversion API? Ads platforms like Facebook and Google heavily rely on visitor’s tracking data to accurately show ads to the right target audience. They want their advertisers to get the best ROI so they have to collect data about visitors of your website or funnels. Most of this data comes from the …
InterFunnels Becomes First Funnel Builder to Implement Facebook Conversion API Read More »

When you talk about selling your product, the most important thing which affects sales is the “Quality of the Product”. If you own a good product, advertising and selling it to targeted audiences will be very easy. In this article, I will briefly discuss the main and most important part of the sales copy, that …
Making money online is not an easy anymore. Gone are the days when you could jump into anything related to online business and fortunes will follow soon after. But still there are some avenues available for those who have the right skills. The freelancing has created a boom for online job hunters. Its great if …
6 WAYS AGENCIES AND FREELANCERS CAN MAKE MONEY WITH SALES FUNNELS Read More »
Facebook ads are considered to be one of the most powerful digital marketing strategies. Which helps you generate new leads, increase return on investment, and results in business growth. No doubt they are many powerful tool for generating leads and sales. But the chances of buying your product are too rare when people see your …
How to Create Facebook Ads for Your Sales Funnel using Canva Read More »